Ideas Genie on the Web
by ideasforgardens.com

This site is dedicated entirely to users of Garden Software developed by ideasforgardens.com
If you DON’T already have a copy of our software, click on the following line:-
Ideas Genie- Software for Plant Lovers 

Home  About us   Ideas for Gardens   Cultivars   Garden Photos   Garden Software   Garden Paintings
Document Reference Lessons/Lesson3                                                   Issue Date 7th April 2003
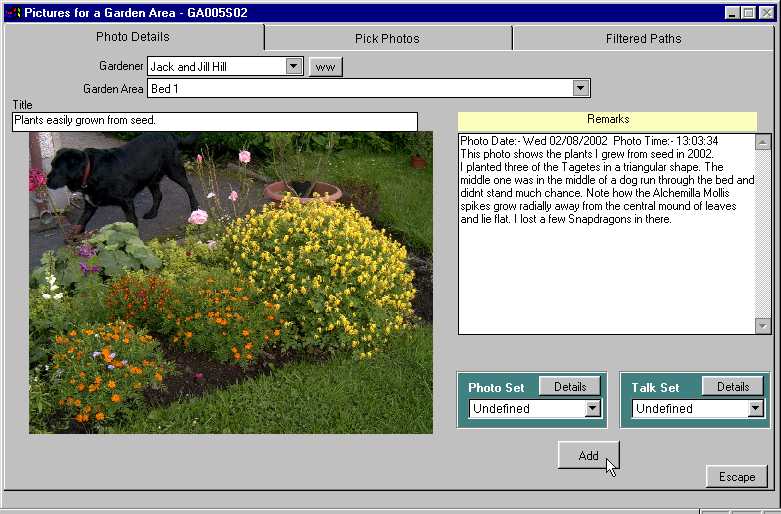
Lesson 3 objectives: Link a Garden Area Photo to a Garden Area. “Quick Add” a Plant to the database using this program if it does not exist. Link a Plant to a garden area. Identify Plants in the Garden Area Photo by dragging rectangular shapes to set Co-ordinates to their position (Lassoo the plants??).
There are 18 steps in this Lesson.
 

Previous Step
Step 8 The Photos Details page of the Page Frame appears. Ideas Genie automatically enters the Photo date and Time in line one of the “Remarks” edit area. Enter a title for the photograph. Then edit the text in the Remarks text area to describe your photo, record the type of camera, camera settings etc.
Note the Gardener and Garden Area setting. This Garden Photo will be linked to the Garden Area shown.
When you have the information entered, Click on the “Add” button as shown below (see Cursor)
 

More info: You can also reset the Gardener and/or Garden Area pop-ups before Adding.
You can unlink the Photo from this Garden Area and link to another later if you wish. You can even link the photo to an additional area(s) later i.e. link a vista photo to MANY areas. You can edit Title and Remarks at any time later.
Next Step

Home  About us   Ideas for Gardens   Cultivars   Garden Photos   Garden Software   Garden Paintings